#downloads the blogdown package
devtools::install_github("rstudio/blogdown")

#initialize a new blog
blogdown::new_site()Introducing the tuftesque blogdown theme
rstats
If you like the way our blog looks, you too can have your own blogdown driven site just like it! In this post I walk through how to set up an RMarkdown driven blog from scratch using blogdown and the tuftesque theme constructed for Live Free Or Dichotomize.
This post will serve as a quick tutorial getting you from nothing to a customized blogdown blog using the theme built for this blog: tuftesque.
The tuftesque theme gives your blog a …tufte-esque… style that eschews some of the choices of the original and which I’ve added a few splashes of my personal style. The main title page is a single column and has an easily customizable banner where as the article view is the two panel view (for large screens) to allow for sidenotes. In addition you can add little author bios at the end which is especially useful if you have more than one author on your blog.
It doesn’t cover the more standard details such as writing new posts as I feel those have been covered much better than I could here.
The Basics
Getting Blogdown
If you already have a blogdown site than you can skip to the next step. If you do not, open R inside a new fresh directory and run the following commands:
R Console
Boom, now you have your very own blog! Wouldn’t it be nice if everything in life was this easy?
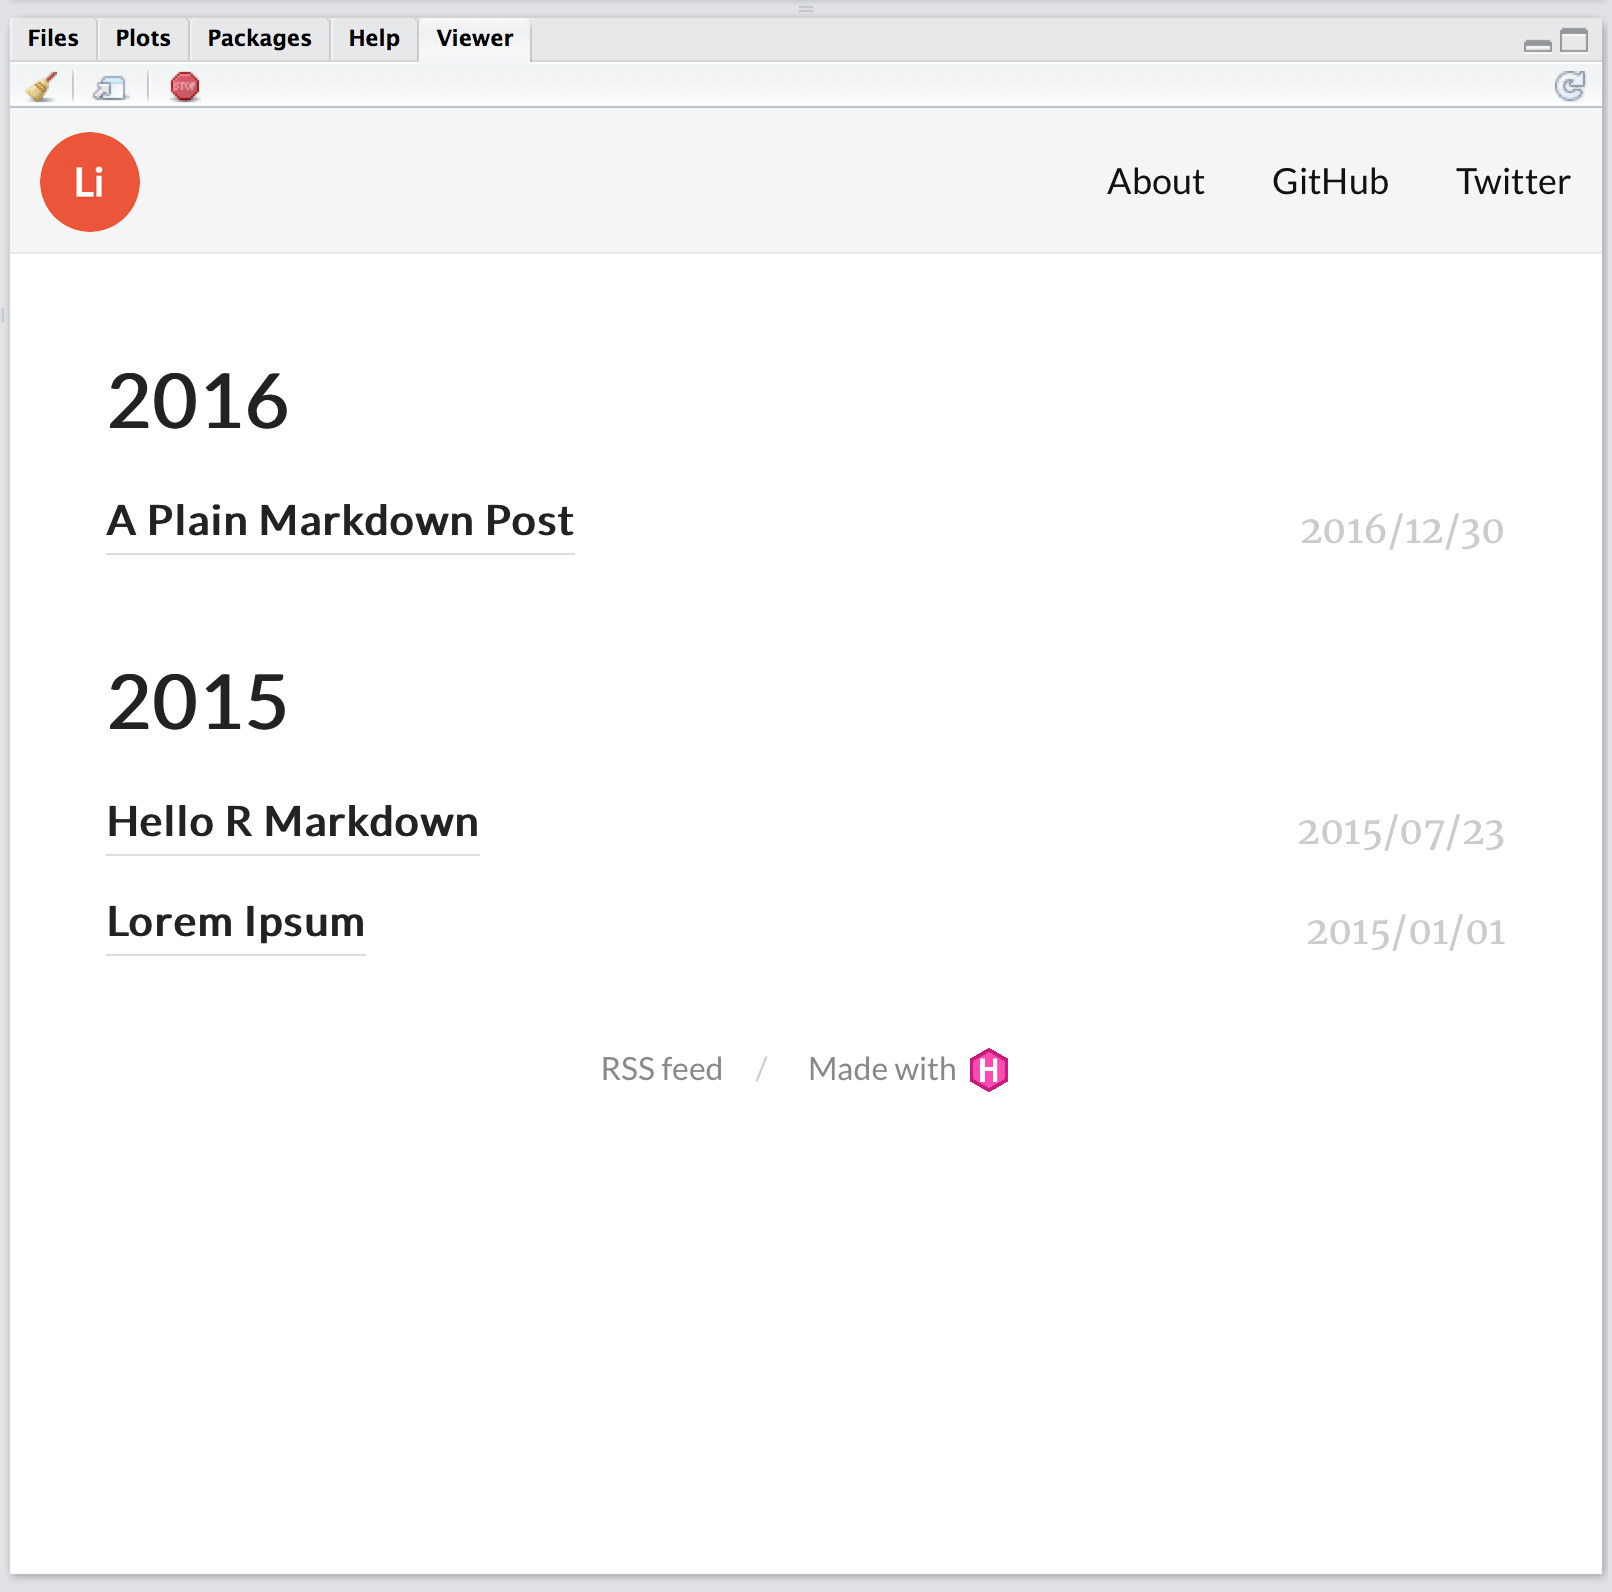
This is what your site should look like at this point.
Adding tuftesque
Now that you have your blogdown blog up and running switch back to your R console (you may have to press escape to kill the running blogdown server) and run the following command to download the tuftesque theme from github.
R Console
blogdown::install_theme('nstrayer/tuftesque')Assuming this successfully worked (if it didn’t file an issue here) now run the command blogdown::serve_site() to restart the blogdown server and you should have your fancy new blog working!
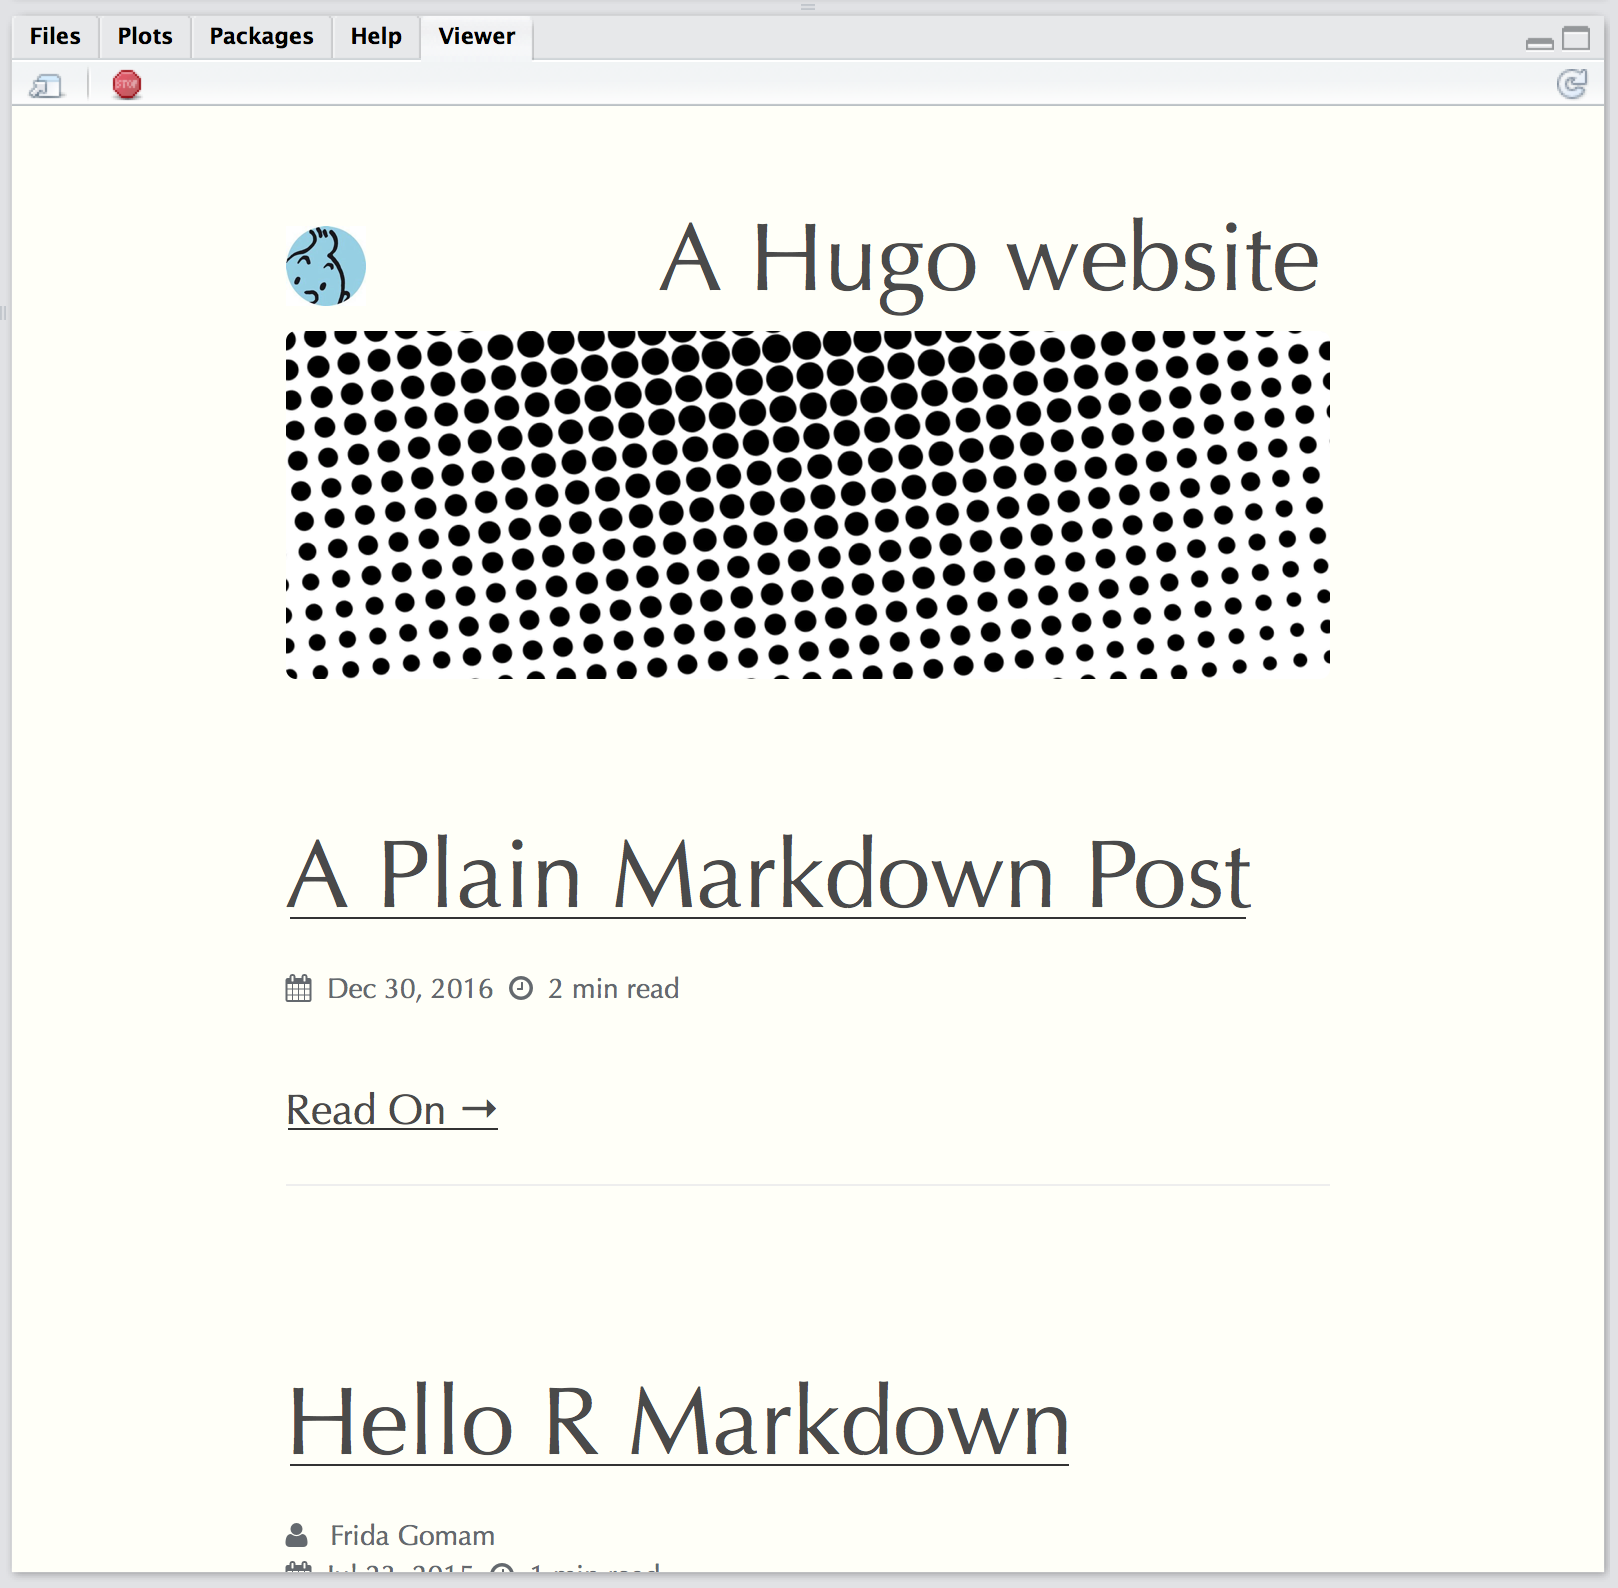
After installing the tuftesque theme your blog should now look like this.
Customizing
It would be pretty lame if that was it, wouldn’t it? Fear not, you can tinker with it to make it your own.
Side Notes:
We all know why you’re here: the sidenotes. This is rather easy. Just make sure you have the tufte package installed and then, in an inline r chunk, wherever you want to put a side note call the following.
tufte::margin_note("This is a margin note")The above produces the following: This is a margin note
You can place just about anything in this that you would normally put in markdown so go crazy.
Summary Text:
You can place a description of a post on the home page to give your readers a little bit more info on what a post is about. To do this just add the field excerpt to your posts header:
This is the header of this article. The except shows up on the home page.
title: "Introducing the tuftesque blogdown theme"
author: "Nick Strayer"
date: '2017-07-13'
categories: ["R"]
tags: ["Blogdown", "regression"]
excerpt: "Our blog's theme started as the theme hugo-tufte but has sense been modified a lot. I've been asked to put it up as a theme for other to use, here it is!"
Logo
You’re not a giant Tintin fan? Well lucky for you changes can be made to the theme to make it more “you”.
You will notice in the directory set up for you by blogdown there is a file called config.toml. Open this up real quick and locate the where it says [params.logo] (line 35 if a fresh blogdown install).
Under this you will see the parameter url. You can set this to be whatever your heart desires. Say you’re more of a parrot person, no problem.
/config.toml
[params]
...
  [params.logo]
    url = "http://bit.ly/2tNSEG4"
    width = 50
    height = 50
    alt = "Logo"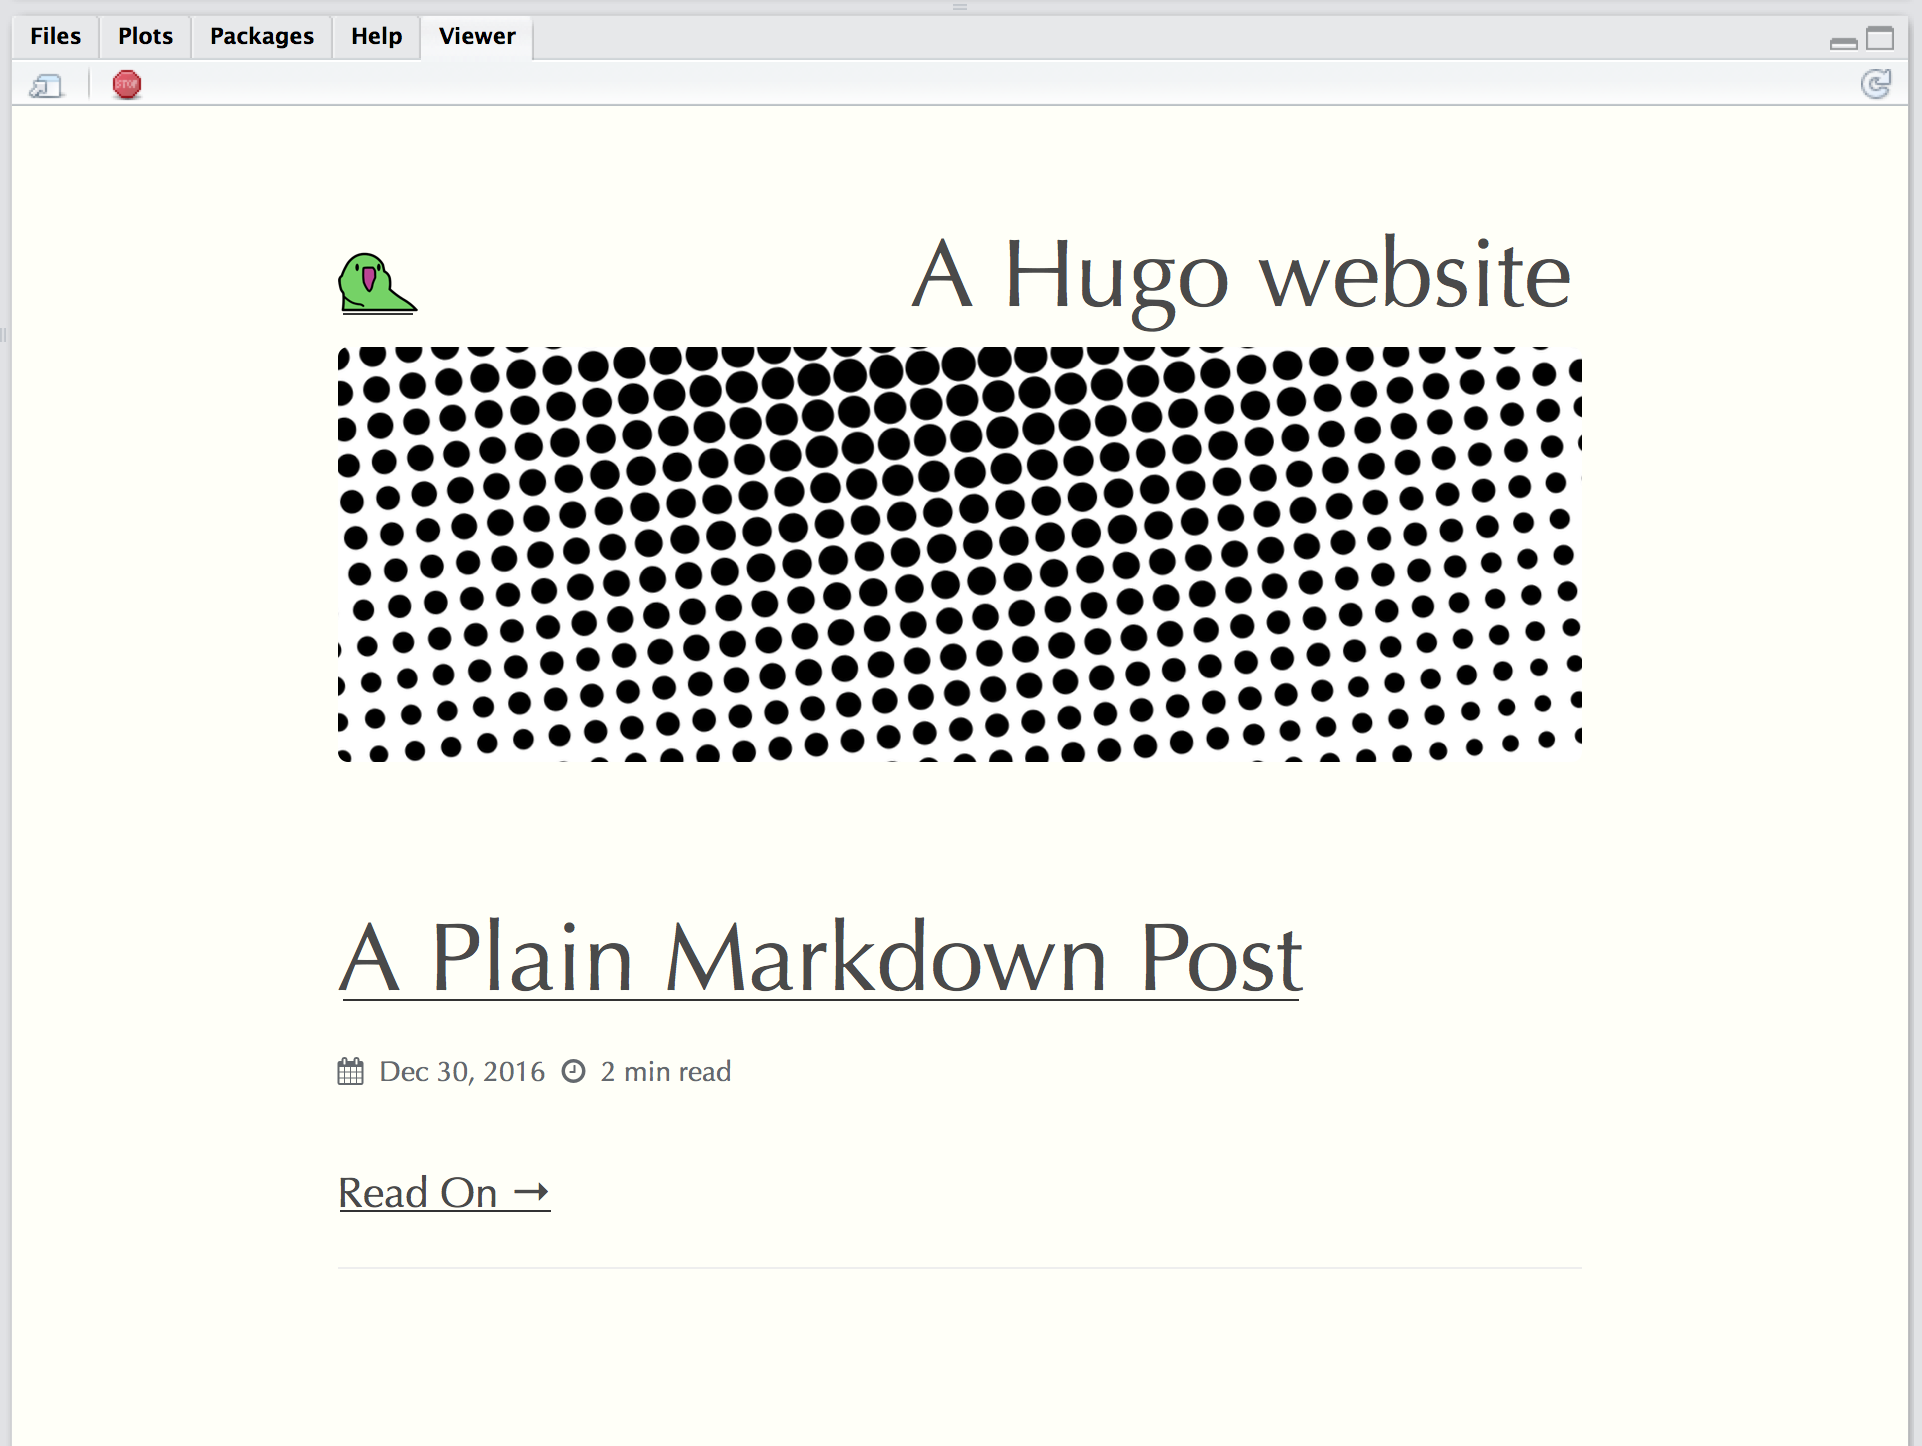
That’s a pretty cool new logo.
Banner
Again, go into your config.toml, but this time you need to add a new key called [params.banner] and under that add a field url just like for the logo.
/config.toml
[params.logo]
  url = "http://bit.ly/2tNSEG4"
  width = 50
  height = 50
  alt = "Logo"

[params.banner]
url = "http://bit.ly/2sV7B6p"Banner Size: The banner image defaults to being a 3:1 ratio of width to height, so if your image is that size it will be fully shown. Otherwise some will get cut off.
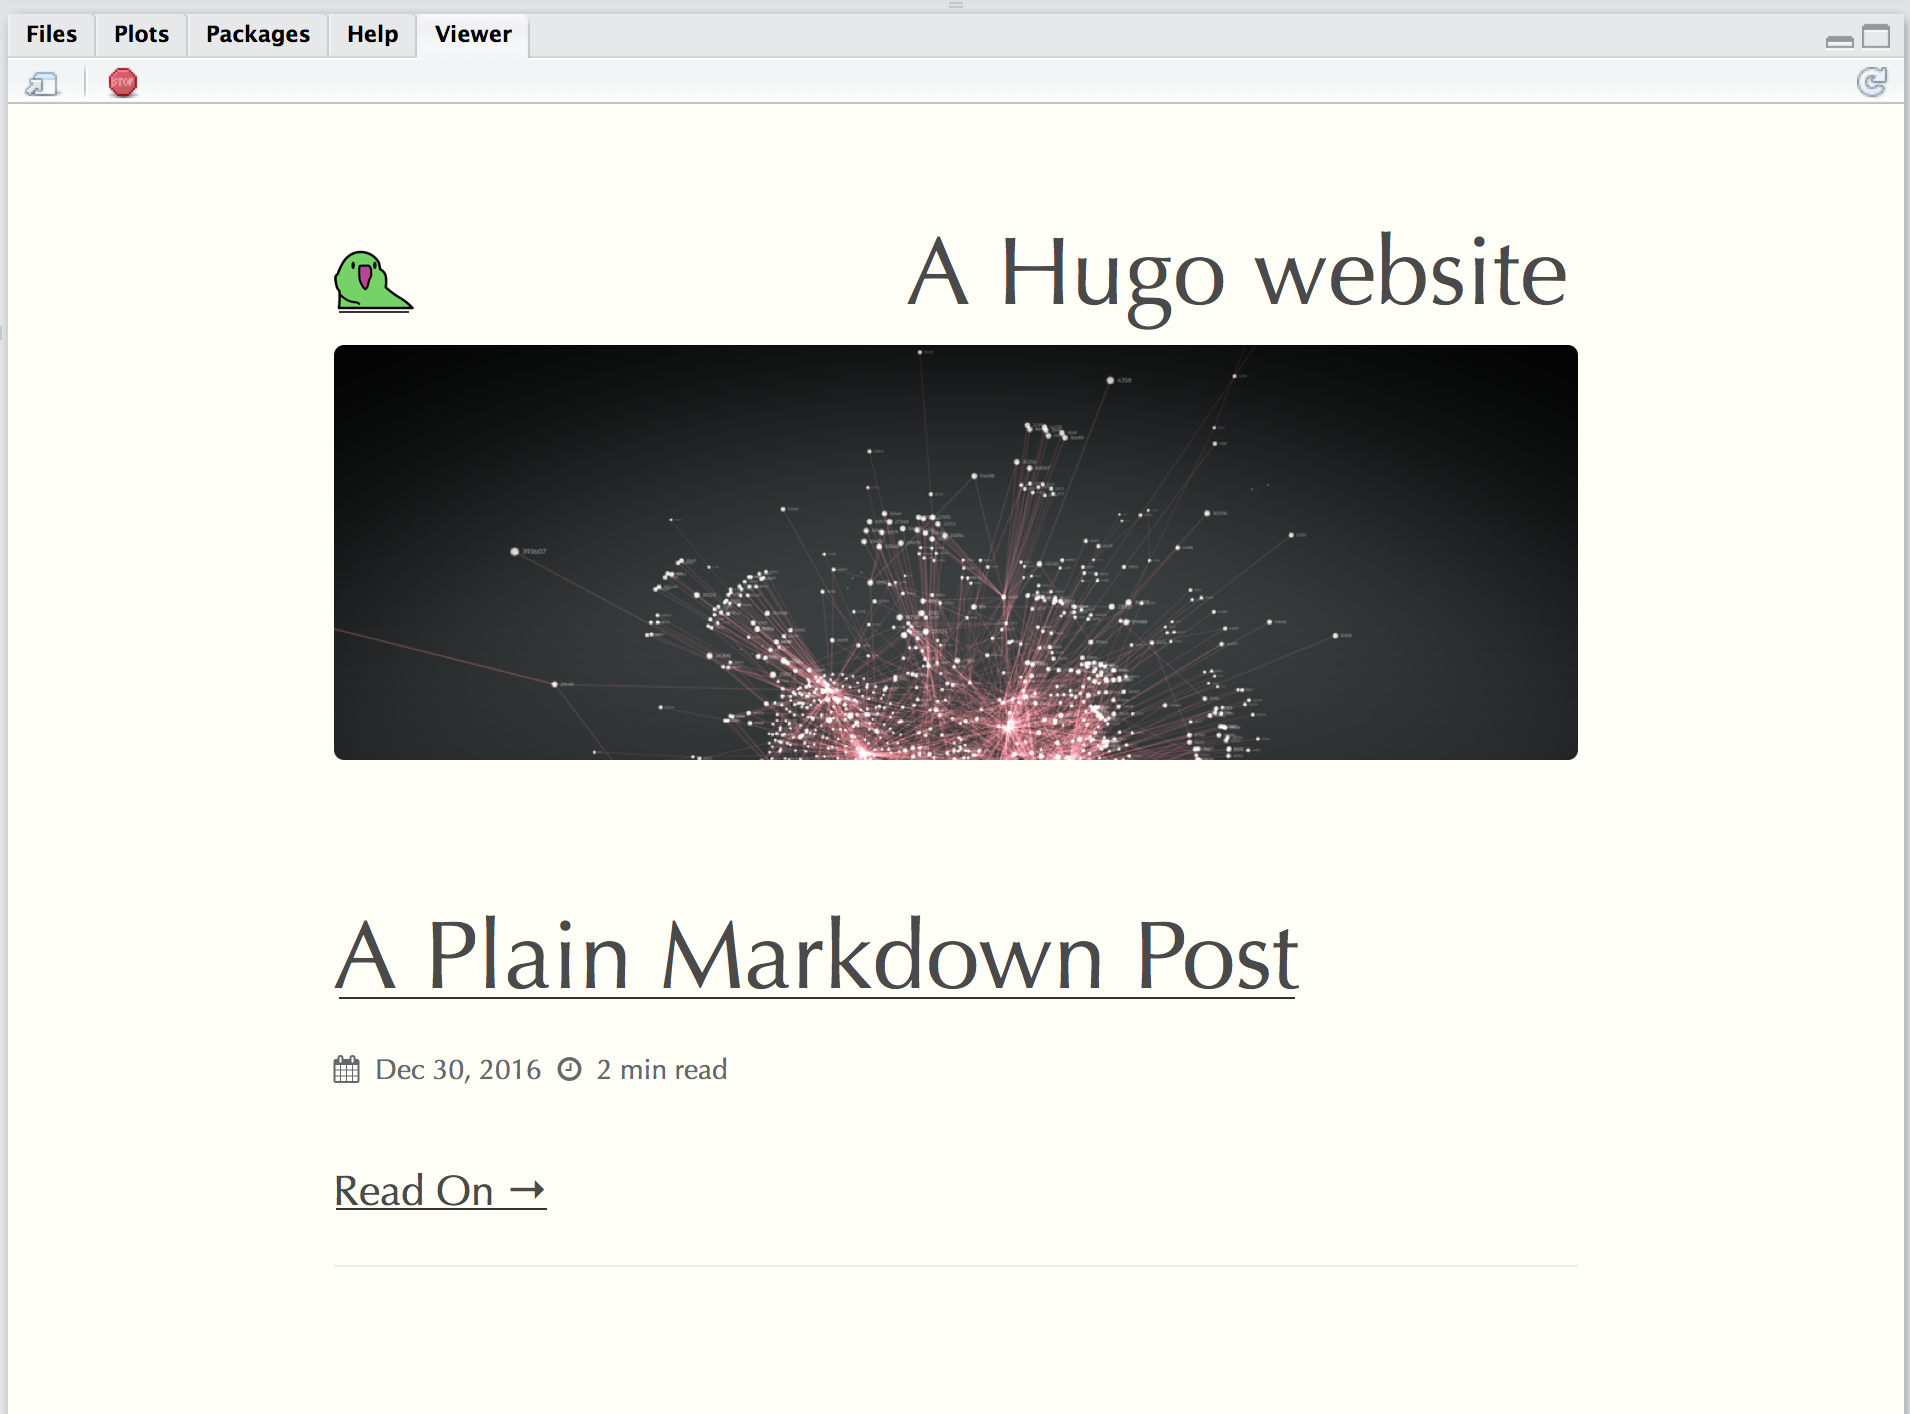
A network diagram?! I like your style.
Adding authors
If you want to have your very own custom bio at the bottom of your articles, go into your blog’s data/ directory and add a file titled authors.toml. Inside this file you can fill in some information about the authors on your blog. This info will then show up automatically at the end of any article they write.
In this include the following info (replacing in the obvious places).
/data/authors.toml
If you don’t have all of the fields no worries, just don’t enter them and they will automatically be hidden from the bio.
["Party Parrot"]
  name =  "Mr. Parrot"
  bio = "This is my super awesome bio and stuff."
  website =  "http:/www.example.com"
  thumbnail = "http://bit.ly/2sV7B6p"
  twitter = "https://twitter.com/"
  github = "https://github.com/nstrayer/tuftesque/"
Make sure that the key ["Author Name"] is exactly as the name appears in the author field of your post’s header.
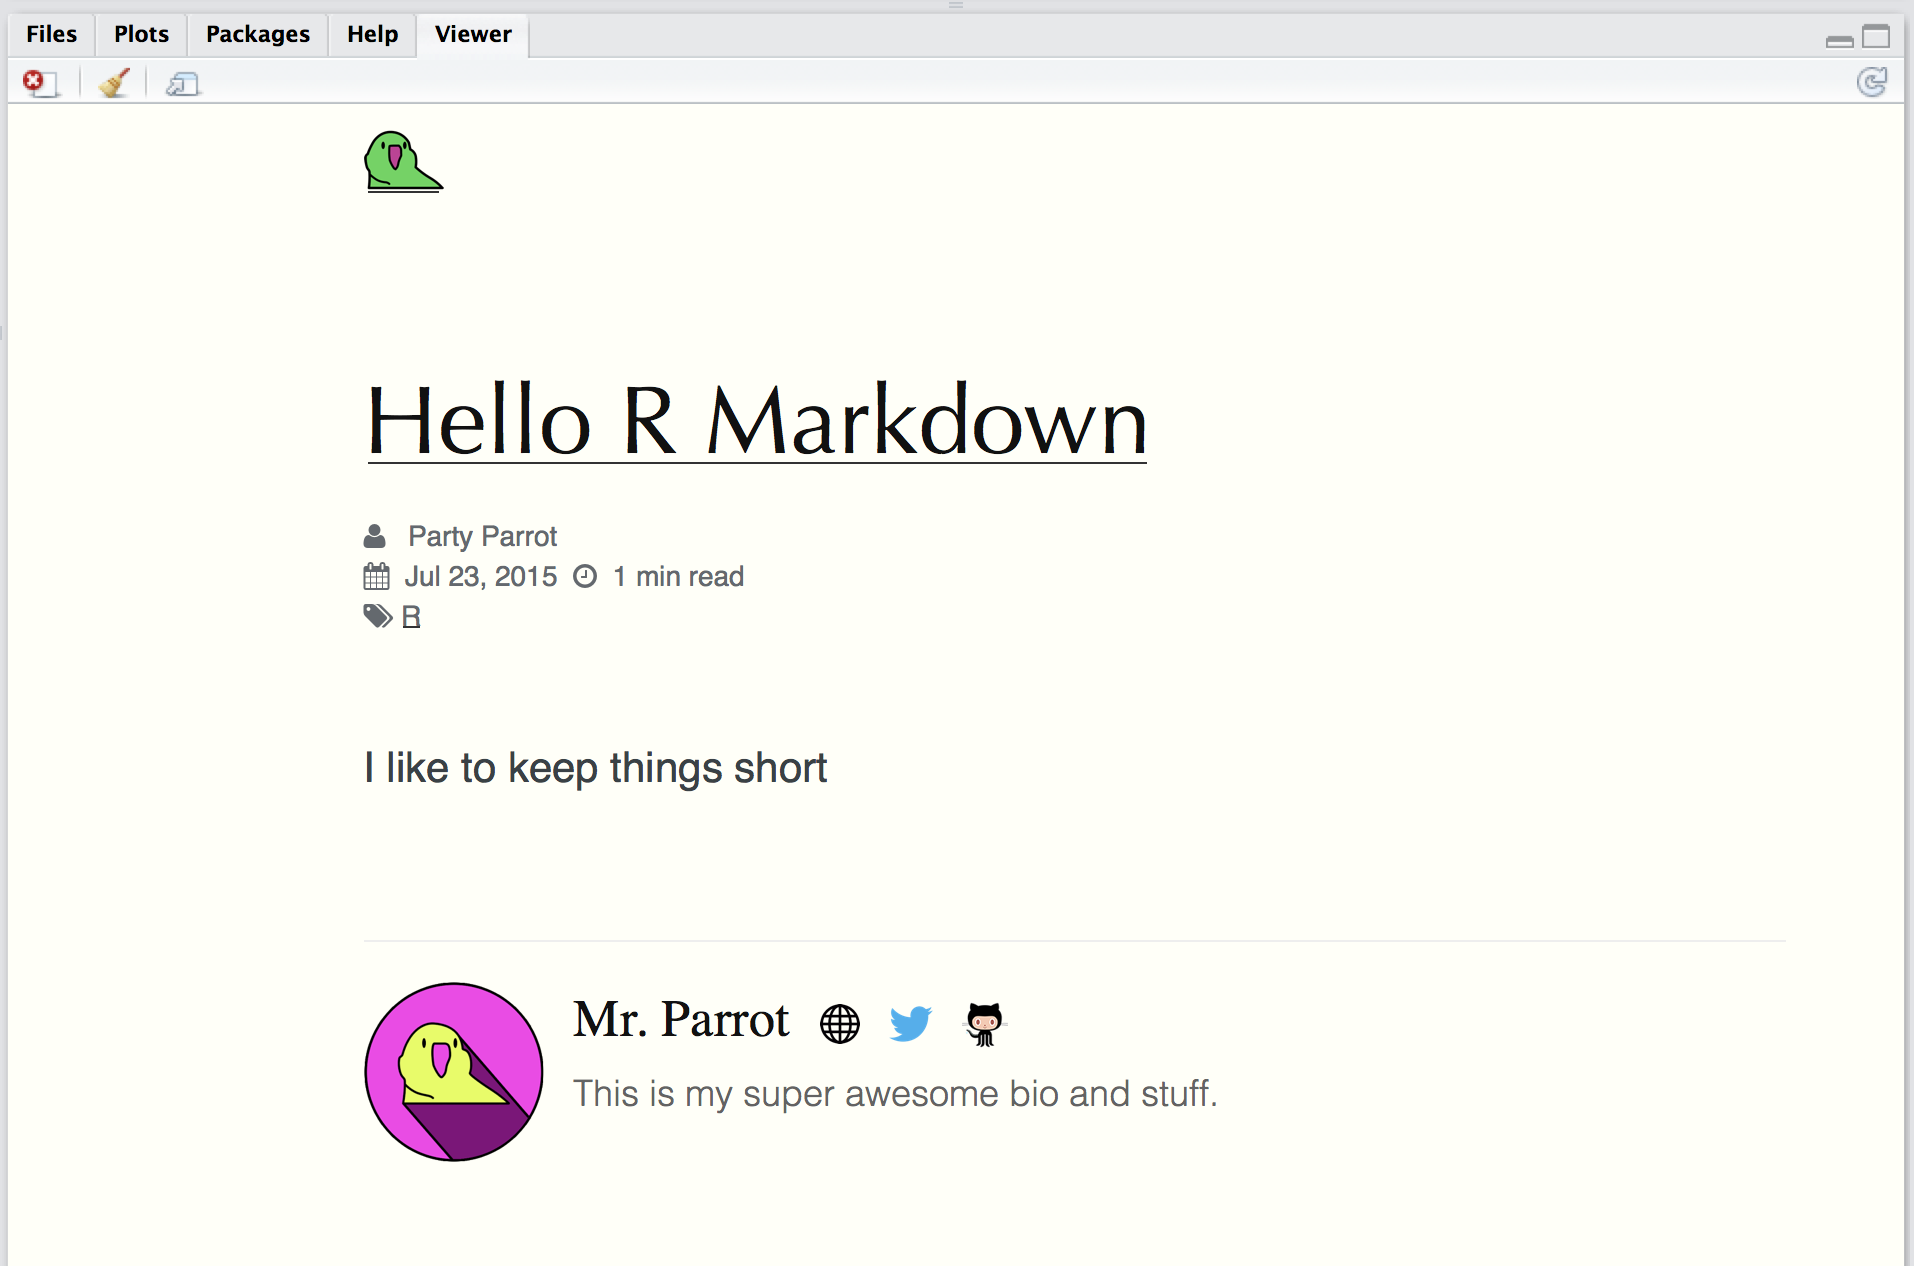
Author bios automatically show up if the author’s info is in /data/authors.toml
Beyond the basics
If the limited options included in the theme are not flexible enough for you and you feel comfortable with html and css you can easily extend any part of this theme. For instance, you may notice on our blog we have an interactive animation that plays instead of a banner image. This is accomplished by simply adding a file called banner.html (this is what it looks like) into the /layouts/partials/ directory of our blog. This works because the tuftesque theme has a file in its own directory structure with the same name (/themes/tuftesque/layouts/partials/banner.html). Hugo uses that file to draw the header section of the page, but not before checking in our blog’s own layouts/ directory for the file first. Since we have our own version of this file, that one gets used instead of the default banner image.
So if you want to extend tuftesque (or any other Hugo theme) you never have to muck around in the themes/ directory, you simply need to investigate what part of the theme is responsible for the view you want to change by looking at its structure (poke around the github page to see how tuftesque is laid out) and then replicating that file’s path in your blogs personal layouts/ directory and make changes to your hearts desire! This is how tuftesque was slowly built out.
Wrap-Up
That’s pretty much it. The theme is rather minimal now but has the basics of what I look for in a theme. If any of the above was confusing to you or you have a suggestion for how I should improve the theme please don’t hesitate to submit an issue on the github or ping me on twitter.