# Installs latest version of shinysense.
devtools::install_github('nstrayer/shinysense')

# Installs latest version of keras.
devtools::install_github('rstudio/keras')

# Make sure you have the python versions of keras/tensorflow installed on your machine.
keras::install_keras()Shinyviewr: camera input for shiny
shiny
images
deeplearning
A brief intro to, and tutorial for, the new function in the shinysense packages: shinyviewr. This function allows you to take photos using the camera on your computer or phone and directly send them into your shiny applications.
Motivation
My package shinysense has been around for more than a year now. It started as a package to add swiping via touch screens to shiny for our app Papr, but then slowly got built to include functions for hearing (shinyearr), movement (shinymovr), and drawing (shinydrawr). However one major sense was missing: vision.
I had it on the to-do list for the package for a while but never got around to it. Then last week Dean Attali pinged me on github about the status of the camera-functionality to shinysense.
This, along with my recent dive into deep learning, spurred a renewed effort to add vision to shiny’s senses. The result is the new function shinyviewr, which, like the rest of shinysense, comes in the form of a shiny module that can be easily added to your app to endow it with the ability to sense the outside world.
Coming soon to a shiny app near you: webcam input! #rstats
— Nick Strayer (@NicholasStrayer) July 20, 2018
(Spurred on by @daattali) pic.twitter.com/1Qav8ftDJs
How to use
In this code I will supply demo code in the form of single page shiny apps. This means the UI and Server code are all contained in a single .R file. This makes reproducing everything easier for you. Just copy and paste the block into an RStudio console and run!
Setup
Before you can run these examples you will need to have the latest version of shinysense downloaded from github. In addition, we will be running an example with a deep learning model obtained via the library Keras. Run these commands before to make sure you’re all setup.
Now that all that is out of the way let’s start with the most basic example.
library(shiny)
library(shinysense)
library(tidyverse)

ui <- fluidPage(
  shinyviewrUI("myCamera", height = '200px'),
  imageOutput("snapshot")
)

server <- function(input, output) {
  #server side call of the drawr module
  myCamera <- callModule(
    shinyviewr, "myCamera",
    outputHeight = 300,
    outputWidth = 400)

  # logic for what happens after a user has drawn their values.
  observeEvent(myCamera(), {
    photo <- myCamera()
    print(photo) #print to console for inspection
    output$snapshot <- renderPlot({
      plot(as.raster(photo)) # plot photo
    })
  })
}

# Run the application
shinyApp(ui = ui, server = server)
Result:
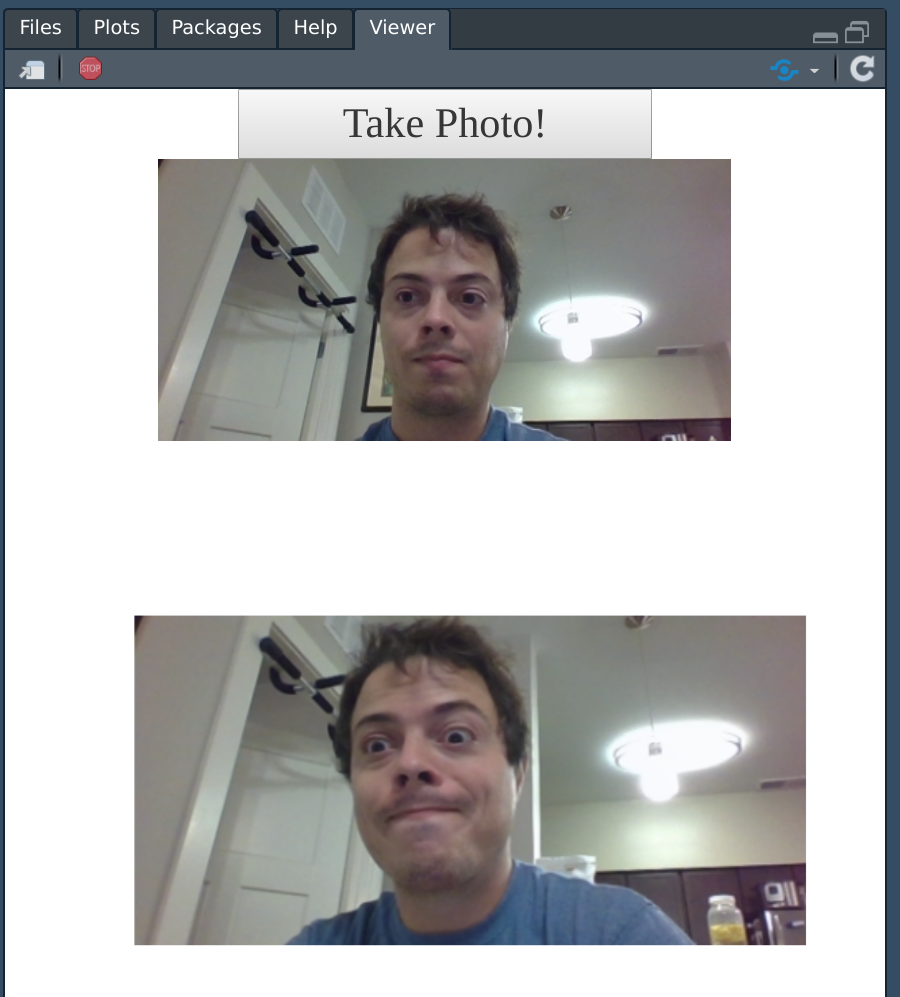
We have a working app!
Output format
A fair question at this point would be “in what form does the image show up in shiny?” If you run the above example and look at the console you will see the image object printed. It is a rather simple thing: just a 3D array with the dimensions (height, width, channels), with channels being red, green, and blue quantities on a scale from 0-1.
dim(photo)
> [1] 300 400   3
To plot, you can do what we did in the example, just send it to the as.raster function and then plot the resultant raster object.
Usage on phones
Having a webcam view is interesting but ultimately rather limiting. One of the more powerful features of shiny is the ability of the apps to run anywhere, including on a phone.
shinyviewr can automatically detect that it is running on a phone with a rear camera and will append to its UI a drop down menu to choose between which camera you use to take a photo.
Front camera: 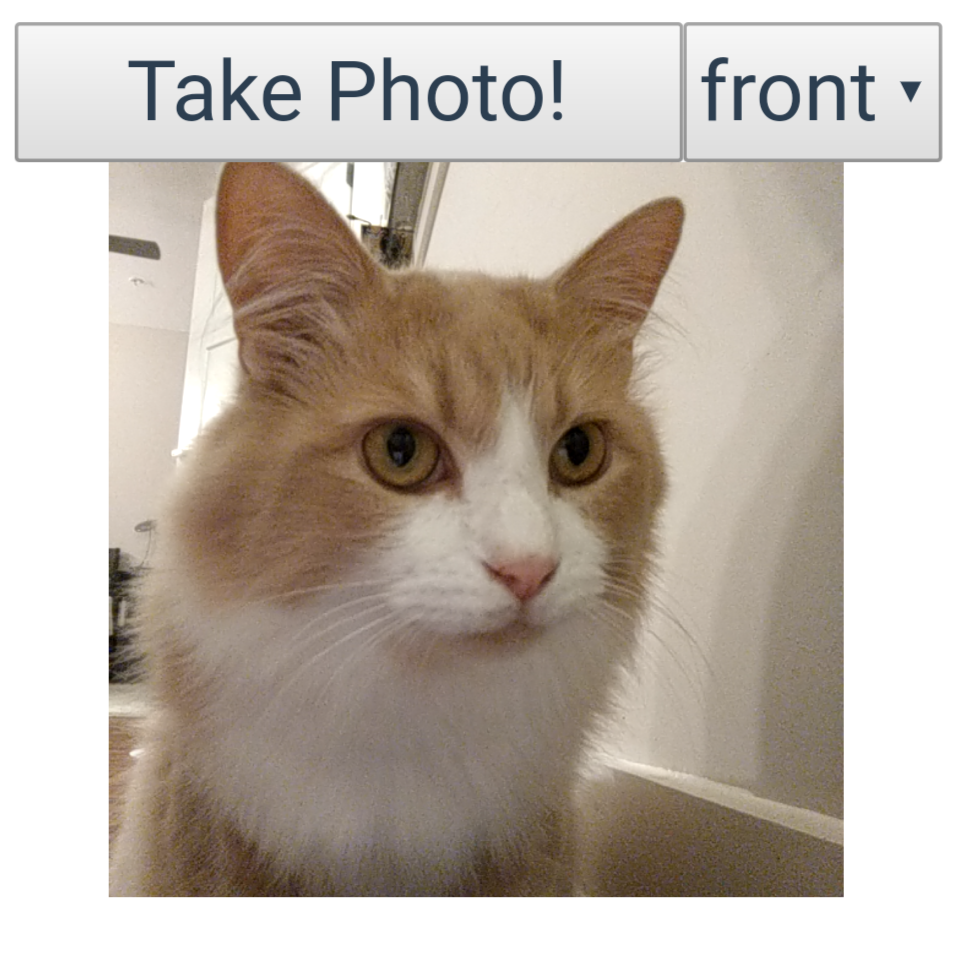
Rear camera: 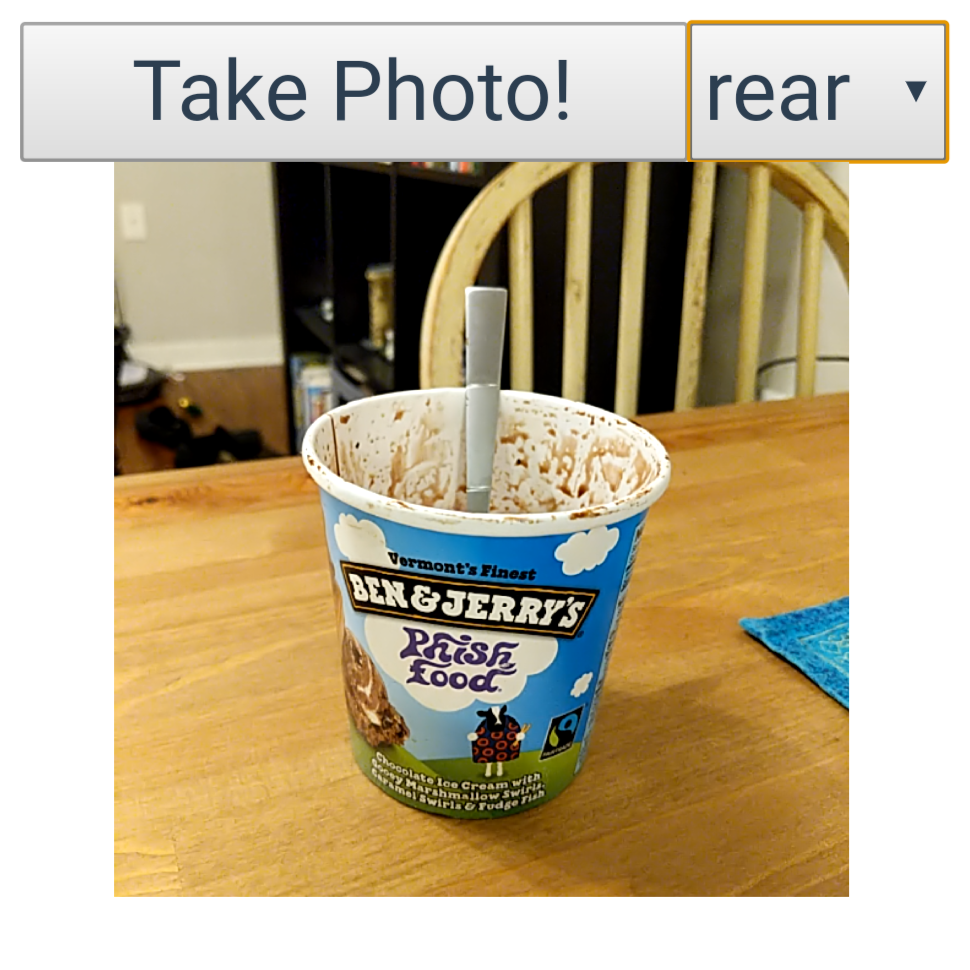
The ability to utilize rear-facing cameras on mobile devices hopefully opens up opportunities for researchers to collect data and run models right in the field, without having to awkwardly plug in an SD card and run a script later. Collect your data and run your model right in the moment!
Example app
Taking a photo and just plotting it is… kind of lame. The real power of image input into shiny is, in my opinion, the easy interfacing with powerful machine learning libraries. To demonstrate this, let’s build an app that attempts to classify whatever is in the photo you just took.
This is where Keras comes in from the setup script. We will use a pre-trained model that has been trained to recognize 1,000 different image classes from a dataset called ‘imagenet.’ Keras includes easy helpers to access multiple different models that have been already trained on this massive dataset for you, vastly simplifying your workload. We will load the model vgg50. In order to speed up your app, before you run the example, make sure to run the line loading the model. The first time this line is run it will go and fetch the (rather hefty) file containing the weights. After it’s run the first time it doesn’t need to be downloaded again though.
Image classification example
library(shiny)
library(shinysense)
library(tidyverse)
library(keras)

# instantiate the model
model <- application_resnet50(weights = 'imagenet')

ui <- fluidPage(
  titlePanel("Image Classifier"),
  fluidRow(
    column(
      width = 7,
      h3("Webcam"),
      shinyviewrUI("myCamera", height = '250px')
    ),
    column(
      width = 4, offset = 1,
      h3('Last Photo'),
      imageOutput("snapshot", height = '250px')
    )
  ),
  h3("Predictions"),
  plotOutput("predPlot")
)


server <- function(input, output) {
  #server side call of the drawr module
  myCamera <- callModule(
    shinyviewr, "myCamera",
    outputWidth = 500,
    outputHeight = 500
  )

  observeEvent(myCamera(), {

    photo <- myCamera()
    photo_processed <- photo %>%
      image_array_resize(224, 224) %>%
      {.*255} %>%  #get image to 0-255 instead of 0-1
      array_reshape(c(1, dim(.))) %>%
      imagenet_preprocess_input()

    # make predictions then decode and print them
    preds <- model %>%
      predict(photo_processed) %>%
      imagenet_decode_predictions(top = 20) %>%
      .[[1]]

    output$predPlot <- renderPlot({
        ggplot(preds,
          aes(x = reorder(class_description, score), y = score)
        ) +
        geom_pointrange(aes(ymin = 0, ymax = score)) +
        coord_flip()
    })
    output$snapshot <- renderPlot({
      plot(as.raster(photo))
    })
  })
}
shinyApp(ui = ui, server = server)
While that may seem like a lot of code to look at. Keep in mind that it is everything needed to spin up an app that uses the deep learning to classify images coming from the camera of your phone or computer. It’s pretty crazy how few lines it is in that context!
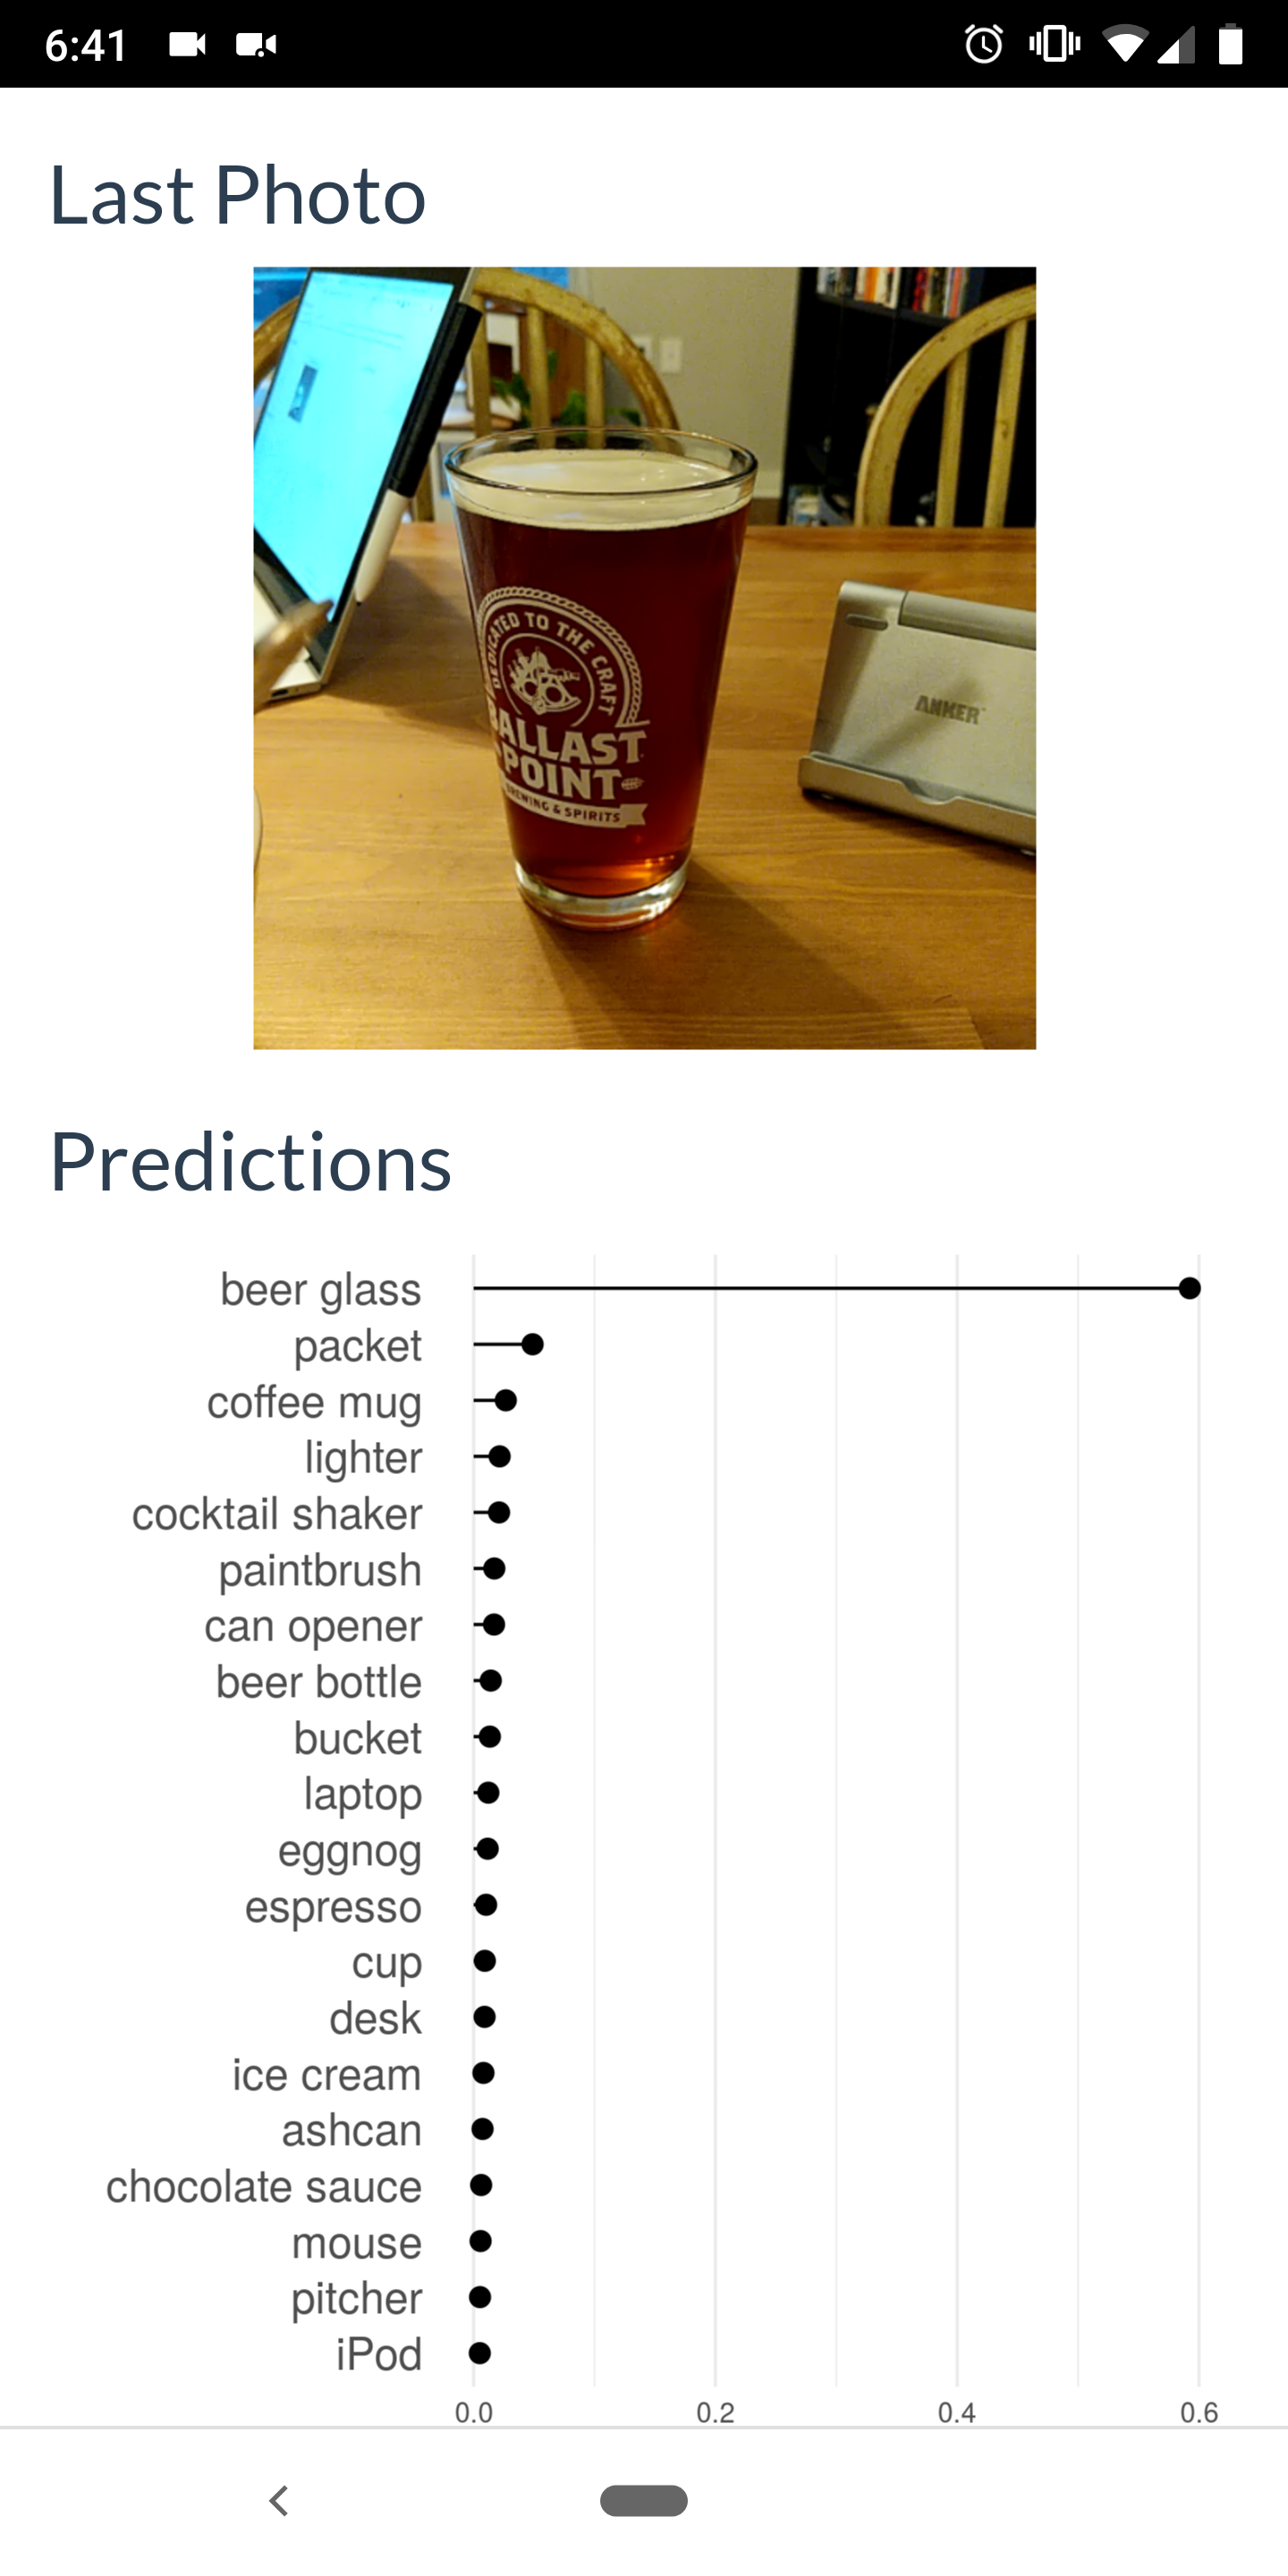
The demo app linked will look a tad bit different from what you get if you run the code above. This is because I modified it with some stylistic changes that just added more code to the already long chunk above. If you want to see the exact code generating the demo app check out the repo. Here’s a snapshot of the results when running on my phone.
Here’s a link to a live demo app for you to check out the app without having to run the code above. Beware, the app is hosted on the free tier of shinyapps.io so there’s a decent chance it will not work by the time you read this. If this is the case, just running the code above will accomplish the same thing!